|
We are so excited to share with you a glimpse of our new exclusive interview with Paul Gautschi. The full 30-minute interview will be included in the Future of Food Summit and trust us, you don't want to miss it (available to watch starting on November 4th for a limited time). You must register to watch Paul's full interview! This online event is FREE and NOW OPEN for registration! We are at an unprecedented moment in human history. Food prices, gas prices, limited supply chains are causing stress on families and households across the globe. Thankfully, it doesn't have to be that way. Growing a Back to Eden garden can help set you free! Paul shares the benefits of growing your own food. Learn tips for the most abundant and successful garden and what to expect for the future of food.
Can you imagine right outside your door is an abundance of fruits, vegetables, and herbs? You are growing enough food to feed your family and have plenty to share with your community. Today, our industrialized food supply chain is not able to withstand and recover from crises and disruptions in a way that ensures accessible and affordable food security for all. Thankfully, you can easily start growing your own food no matter where you live and that is exactly what the Future of Food Summit is all about! Starting on Friday, November 4, 2022, you can watch the Future of Food Summit for FREE (for 4 days). During this epic 4-day Summit, you’ll watch over a dozen conversations from food experts including farmers and gardeners who are paving the way toward a more resilient and equitable food system including:
Check out the entire speaker lineup and get your FREE TICKET here. Will you start growing food today? Here’s why you should!
The Summit is FREE but available for a limited time (November 4-7). If you miss the event or can't make it, don’t worry! You can purchase a Lifetime Access Pass that gives you unlimited lifetime access to the Summit. 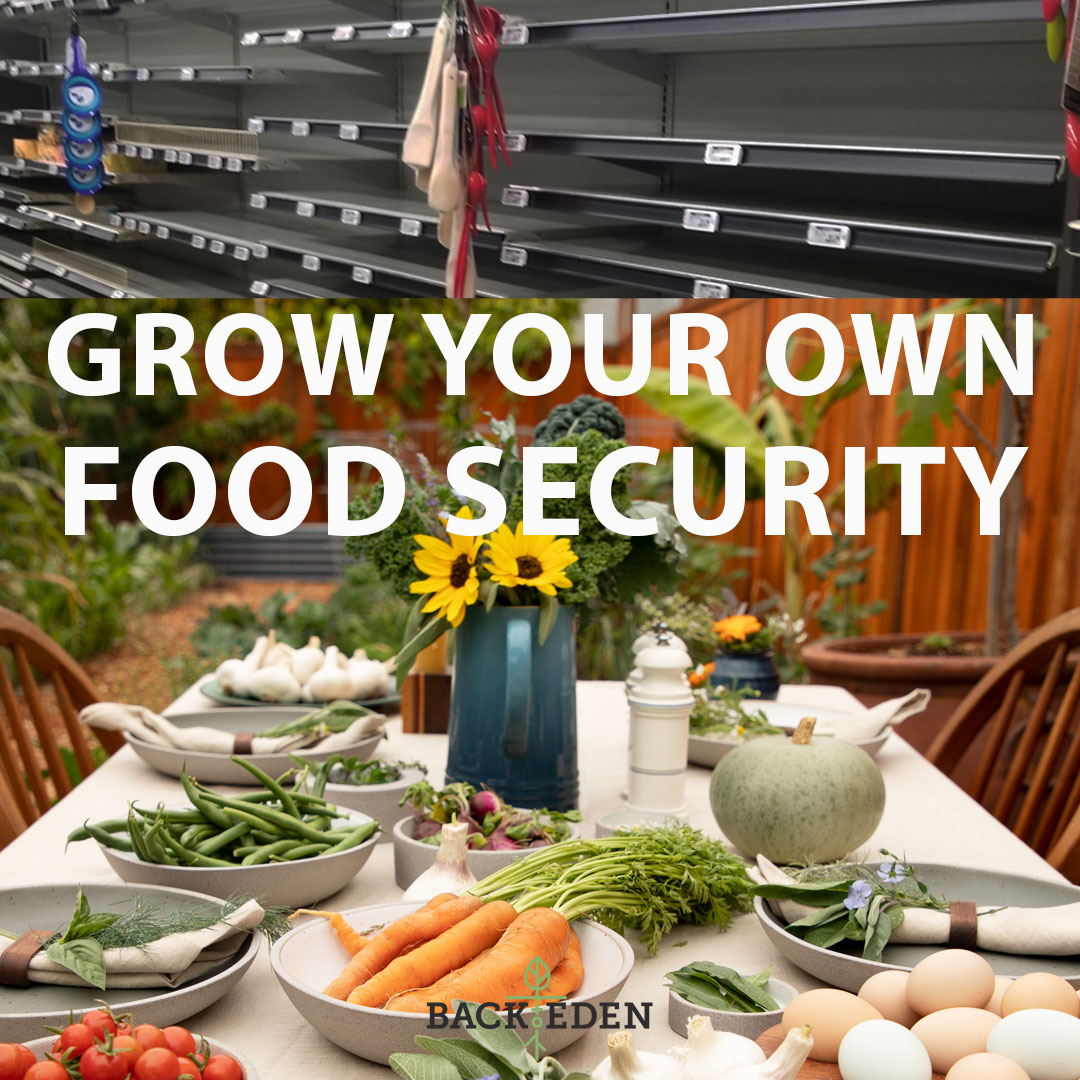
Threats to Food Security & Food Price Increases
Predictions for food shortages to increase globally during the next two years are an urgent topic of conversation. By now you may have heard about shortages in grain due to the war in Ukraine which will affect the food supply chain dramatically. Currently, 25 million tons of Ukrainian grain are trapped by a Russian blockade which is likely to turn into an even more dangerous food availability crisis next year unless solutions are found. The number of people facing food insecurity before the Covid pandemic was already a whopping 130 million. Since the pandemic and the Ukraine crisis, the number has increased to a staggering 345 million people living in food insecurity. Additionally, 50 million people in 45 countries are estimated to be on the brink of famine. In the United States, the U.S. Department of Agriculture has recently announced an anticipated increase in "all food prices" in their report on food prices. The cost of eating out will increase up to 6.5% and grocery store prices will steadily gain by 3-4% during the remainder of 2022 past what we have already seen so far this year. The inflated prices of foods will likely continue to drive more people into food insecurity.
"The U.S. inflation rate has already passed the 8.5 percent mark, and now people are realizing that this problem is real."
Which foods will be most affected by price increases? The report outlines every food on the market will increase in price. However, the items which are expected to reach the most record-breaking high prices include meats, poultry, eggs, dairy, cereals, and bakery items.
The increasing prices of fuel are also amplifying the pressures felt by so many families still struggling to regain financial stability after the strain of the pandemic. Especially farmers who are depending on heavy machinery. The cost of fueling a tractor has risen from an average of $3,000 to over $10,000 as gas prices soar above $5 per gallon. Best Seed Banks for Food Security
Homestead Survival Seed Bank: All of the varieties are high in nutrients, minerals, and essential vitamins. 100% NON-GMO. 100% NATURAL, OPEN POLLINATED & NON-HYBRIDIZED seeds. This means you can save your own seeds. All tested to ensure the highest germination %.
What's Included:
The Medicinal Herb Seed Bank, a one-of-a-kind package designed to get you started growing herbs to cure illnesses the natural way. Can something be said for a sustainable lifestyle that involves curing with nature’s remedies? According to many doctors and scientists, the healing properties of herbs often surpass the performance of chemically produced drugs.
THE MEGA SEED BANK Includes:
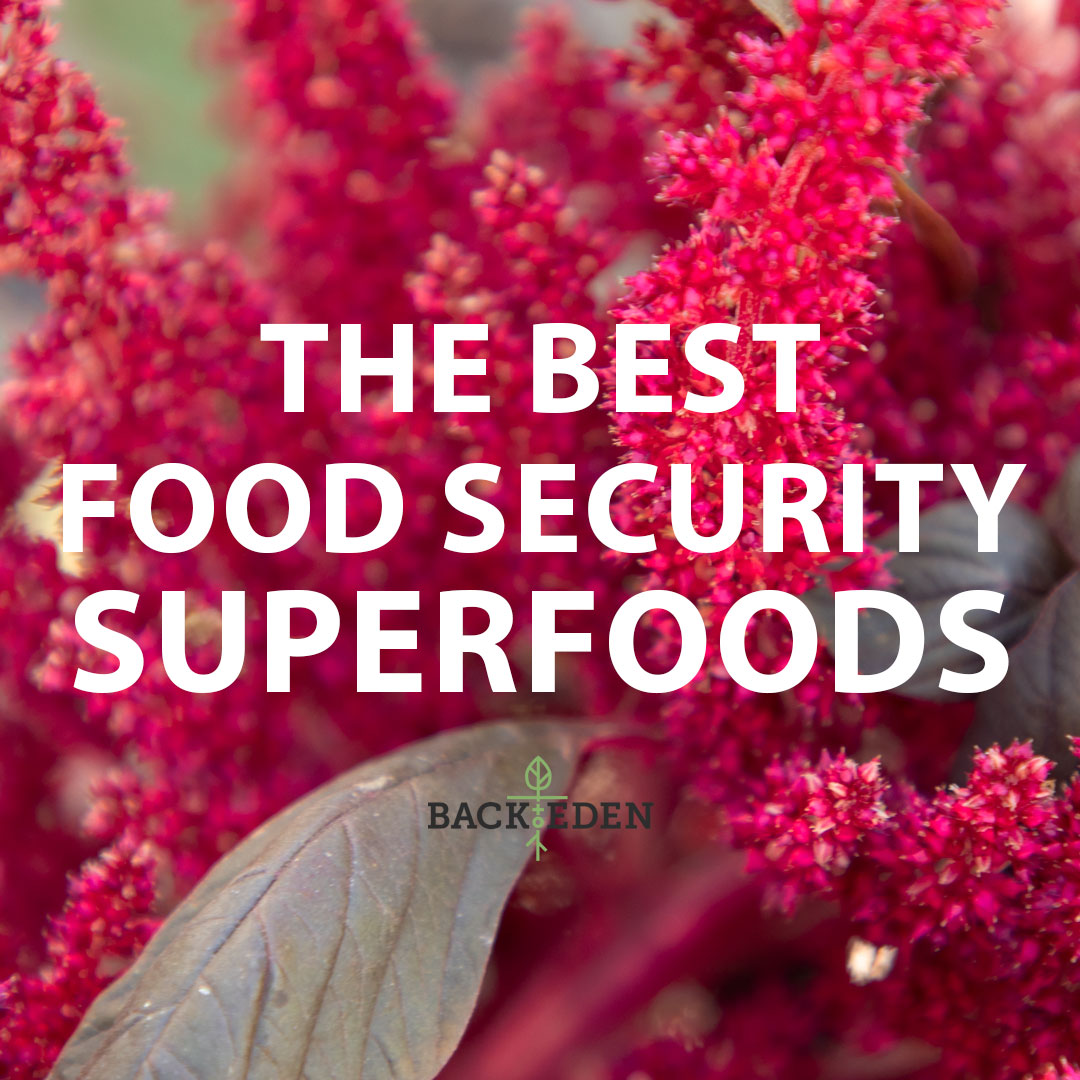
What are the Best Superfoods for Food Security?
Factors of the list of the best crops to plant for food security include, their hardiness to survive extreme weather, their ability to be easily stored and their nutrient value.
1. Quinoa and Amaranth - Grow Your Own Grains!
These grains are both easy to grow and require no hulling after harvesting. Even better, both are healthier than wheat and are considered to be a complete protein with a full array of amino acids. In addition to its climate resilience, amaranth boasts an impressive nutritional profile. Compared to conventional cereal crops such as wheat and corn, amaranth is higher in protein content and has all nine essential amino acids. The grain is also high in fibre and iron, while low in saturated fats. Its nature as a nutritional powerhouse may be the reason why Aztecs believe it gave them ‘supernatural powers’. Amaranth grows well in hot, arid climates while quinoa fares better in cooler, wetter regions. A good crop will produce around five pounds per 100 square feet. In general, grain crops, including wheat, oats, rice, corn, soybean, and beans are at the top of the survival crop list. Grains are an excellent food to grow to prepare for food shortages due to being able to be easily dried stored and being a staple part of the human diet, packed full of essential nutrients. * NOTE: Amaranth is included in the The Medicinal Herb Seed Bank.
2. Potatoes - Grow Your Own Root Crops!
Potatoes, and sweet potatoes are high in carbohydrates making them a great staple food. They are easy to grow, producing up to 50 pounds per 100 square feet. Potatoes grow best in wet climates. We recommend the the Red Thumb Fingerling Potato as one the best potato varieties for food security. Like all crops on our list, it is heirloom and organic making it easy to grow and save seed to replant. It is one of the best tasting of the fingerling potato varieties. It is a high yielder, produces tons of medium-sized, well-clustered potatoes. The tubers are long-keeping and the vines are very vigorous making it a fail proof crop. Live in a dry climate? Try the drought tolerant Elfie Potato variety. It's organic, heirloom, and a hardy, high yield variety. 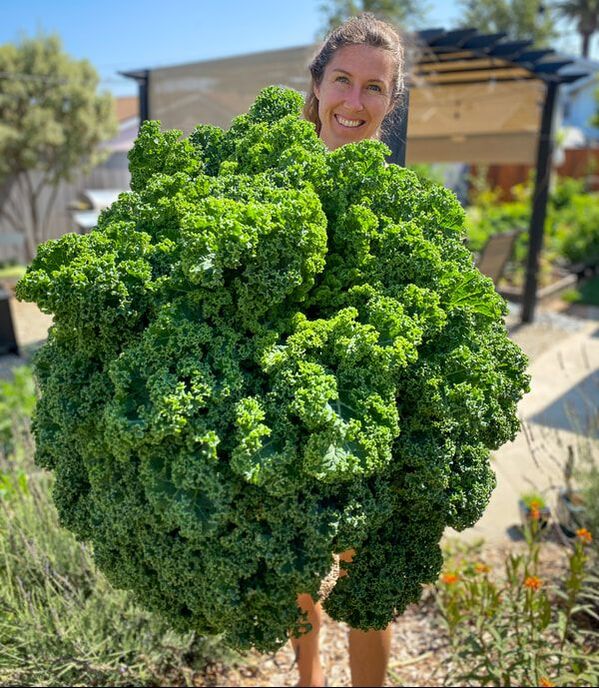
Massive Kale Grown in a Back to Eden Garden in California. Photo by Sarah Zentz.
3. Collards, kale, chard - Grow Your Own Greens!
These members of the cabbage family are not only hearty (they can be harvested even through the winter in many areas), but they are extremely high in calcium. Stocking up on these foods is a good idea, considering most adults have been found to have low calcium levels. They are also long-life annual greens. When your lettuce is bolting, these will still be growing strong for a much longer season or as semi-perennials in mild climates. The Fall/Winter Harvest Seed Bank includes a collection of all the seeds you need to grow your favorite fall and winter crops. These seeds thrive in cold weather and are extremely hardy. You will be able to grow your own brussels sprouts, carrots, kale, broccoli, turnips, swiss chards and so much more. With over 20 popular varieties included, this seed bank is your #1 seed bank of choice for seeds that thrive in cooler temps.
4. Pumpkins - Grow Edible Seeds!
Pumpkins are a double bonus superfood. They offer a nutrient packed food source and healthy edible seeds. Of course the seeds can also be saved and re-planted to provide a lifetime food supply. Pumpkin seeds are one of the highest plant-based sources of iron, which is an essential nutrient for human health that many people are deficient in. The Small Sugar pumpkin is our recommended heirloom variety for excellent flavor and easy growing. Pumpkins store well over winter and can be canned for extended food supply.
5. Legumes - Grow Your Own Protein!
Legumes include beans, peas, lentils, and even peanuts. Growing varieties of lentils that are climate tolerant to your growing conditions is a highly beneficial food source. Legumes are a protein rich staple food of the mediterranean diet. They are easy to grow in vertical gardens without much space. They also fix nitrogen in the soil and are easy to save for cooking and replanting. The Mung Bean is our favorite food security legume. It is native to the Indian subcontinent but is mainly cultivated today in India, China, and Southeast Asia. It is also cultivated in hot, dry regions in Southern Europe and the Southern United States. Its tolerance of heat and drought tolerance makes it an excellent choice. However, what really sets it apart is its superfood powers, packed with healthy vitamins, and macronutrients. Mung beans contain many healthy antioxidants, including phenolic acids, flavonoids, caffeic acid, cinnamic acid and more. In many Asian countries, mung bean soup is commonly consumed on hot summer days. That’s because mung beans are believed to have anti-inflammatory properties that help protect against heat stroke, high body temperatures, thirst and more. They’re a good source of potassium, magnesium and fiber. Studies have linked each of these nutrients to a significantly lower risk of high blood pressure It can be used as a dry bean or sprouted as a micro-green to eat fresh. It is used as an ingredient in both savory and sweet dishes. Can Back to Eden Gardening Can Solve the Food Crisis?
If you are reading this you probably already know that GROWING YOUR OWN FOOD is the most sustainable thing humans can do to prepare for food shortages, price increases, and nutrient deficiencies. Back to Eden Gardening method addresses all of the major food shortage, nutrient crisis and climate crisis issues facing the world today. Here's why be believe the solution to the future of our food is Back to Eden Gardening.
#1 IT'S FREE!
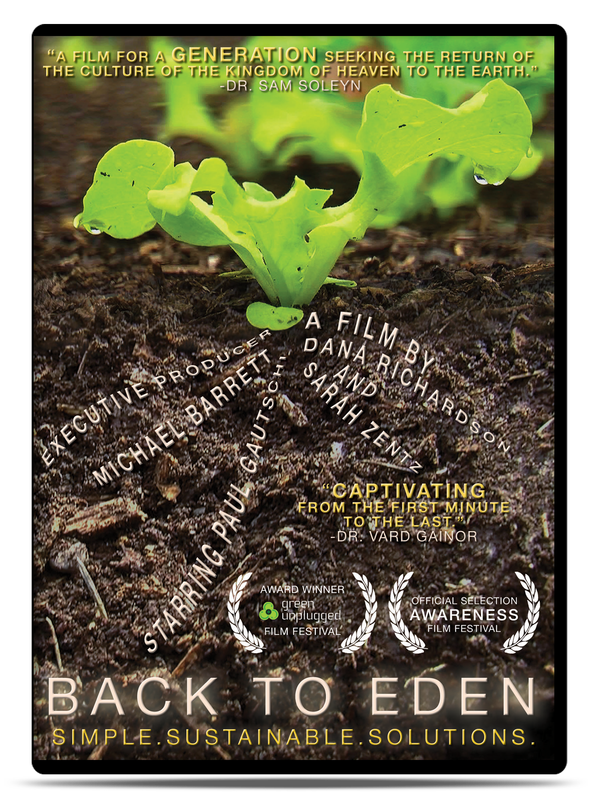
Growing your own organic food can save an average of $4,000 a year per family by reducing grocery store purchases. That stat was from research done before the current food price increases, so plan on saving much more now. With the high costs of food, supplies, gas, and inputs growing food with free or affordable resources is vital. We produced a FREE feature documentary film teaching people everything they need to know how to grow their own food in the most sustainable, labor-saving, money-saving gardening method. It utilizes free, renewable resources like recycled newspapers, and arborist wood chips. The primary takeaway of Back to Eden Gardening is to cover the soil with whatever natural resources are local and sustainable to your region. In most developed cities trees that are pruned in municipal areas produce tons of wood chip waste. In undeveloped, grassland or desert areas where arborist wood chips may not easily available organic mulches such as straw or growing your own no-till cover crop may be better coverage for your soil. #2 LESS WORK! Many people don't grow their own food because they "don't have time" or "it's too much work." Back to Eden Gardening eliminates both of these problems. So, no more excuses! Seriously, when you try no-till, no-dig gardening you'll save a ton of time, energy and labor. The method seeks to make your garden grow as self-sufficient as possible. Which means you have more free time to enjoy it. Throw out the need for fuel-hungry heavy machinery. Most growers find using wheelbarrows and mulch forks are all they need. When you implement the Back to Eden Gardening method you won't ever have to worry about labor intensive weeding again! Weeds are one of the primary issues most organic farmers battle, spending hours pulls and tilling to get rid of them to no avail. The "covering" in Back to Eden gardens prevents new weed seeds form germinating and also softens your hard soil so pulling weeds is easy as pie. Healthy, undisturbed soil inevitably creates a thriving soil food web, the beneficial microbial life in your soil that helps to naturally maintain your plant's optimal health, disease, and pest resistance and results in the most abundant, resilient growth. #3 SAVES A TON OF WATER! Back to Eden Gardening system can reduce watering and irrigation needs by up to 90%. Specifically, Back to Eden growers in areas with normal rainfall typically never need to water after seed germination! Growers in drought crisis regions will still need to water and irrigate. However, they will be able to reduce their water usage to grow food by 75%-90%! Droughts are costly, damaging, and affect both developed and developing nations, across all inhabited continents. In 2017, drought-affected at least 1.5 billion people and cost US$125 billion globally. Forecasts estimate that by 2050 droughts may affect over three-quarters of the world’s population. #4 NO FERTILIZER! You do not need to use fertilizers in Back to Eden Gardening. If you find your plant's need an extra boost you can use organic fertilizers. You will never use synthetic fertilizers. Currently, synthetic fertilizer shortages are one of the major issues facing conventional farmers worldwide. This shortage is expected to lead to famine in some countries due to conventional agriculture crop failure. If more farmers transition to the Back to Eden growing methods we can powerfully impact the food system and decrease food scarcities without dependence on synthetic fertilizers. If you are an organic grower you already know that if you do find the need to add nitrogen in the form of organic (not synthetic) fertilizers there are many clean, self-sufficient options such as your own composted livestock manure, "humanure," worm castings, bat guano or plant-based kelp fertilizers. #5 IMPROVED HEALTH! Did you know that many of the pesticides used in farming today were first created as chemical weapons? Back to Eden Gardening teaches people how to maintain optimal health by growing their own organic, clean, food without pesticides or herbicides or toxic chemicals. Join the movement to grow your own food as medicine!
To get ALL of the top food security crops 55 varieties get the Mega Seed Bank.
Why the Best Survival Skill is Generosity
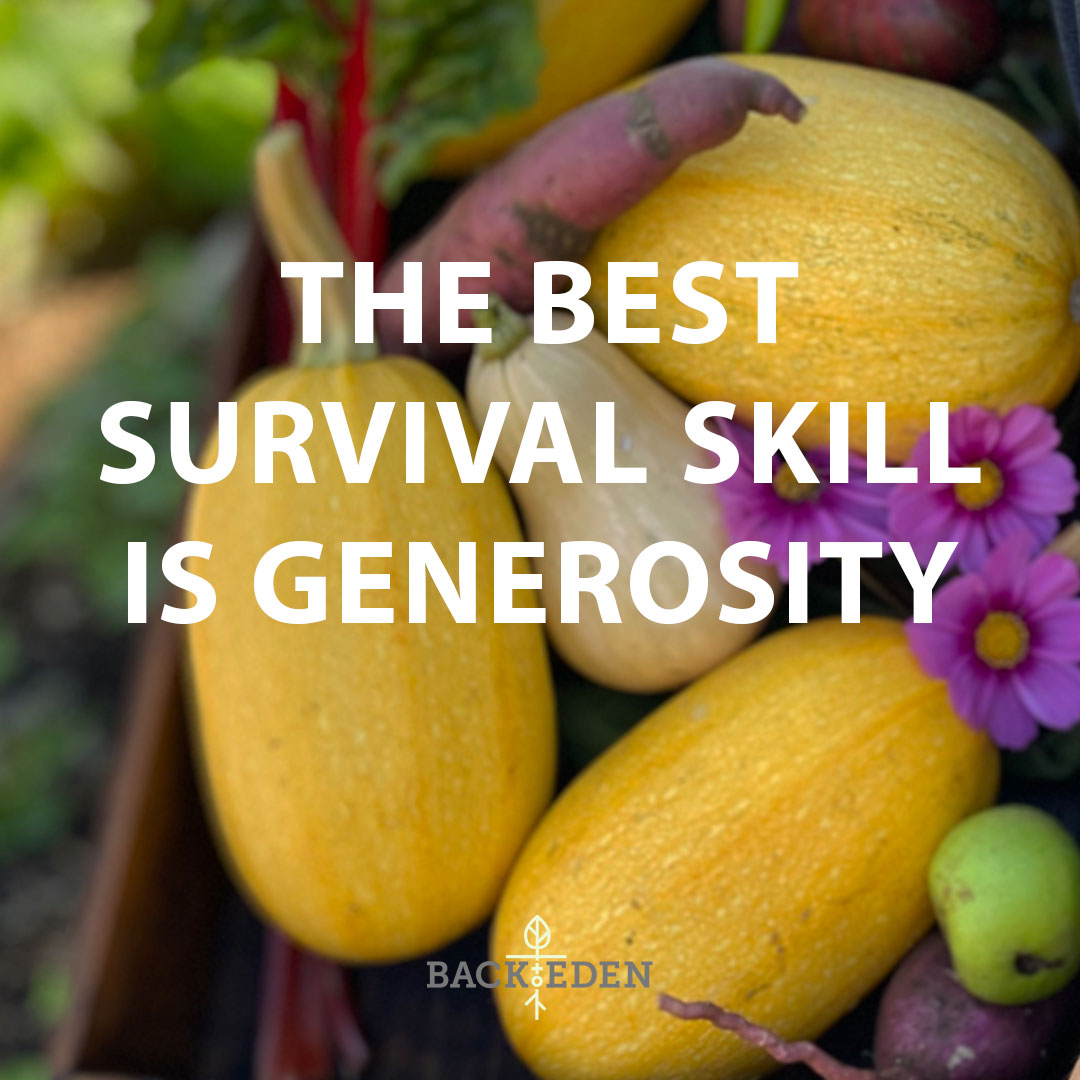
The values of Back to Eden Gardening are to spread generosity, sharing, love, diversity, inclusivity and peace. In nature, all plants work together, not against each other. Sharing resources and fostering community is literally the greatest survival technique. Share your harvest freely with others. Share resources with those less fortunate. With this mentality, will be blessed in return and there will be provision enough for everyone. Sharing is demonstrated all throughout nature. It is also by the most resilient ancient civilizations in history. To quote the wise words of Leah Penniman, Co-founder of Soul Fire Farm a communal BIPOC farm:
"I look at the forest. And if there’s a pine tree on the edge of the forest that’s getting a lot of sunlight, she doesn’t actually grow six times taller than all the other trees. She takes those extra sugars and minerals and dumps them into a web of mycelium fungal hyphae to share with the other pine trees and non-pine trees all throughout the forest so that they’re all fortified. And they can have their mast year together. And so, if one is weak, the others hold her up." - Leah Penniman
Don't Have Space For a Garden? If you haven't started a garden because you live in an apartment or don't have a backyard or land to grow food now is the time to find a way to grow food. Search for a "community garden" in your region and sign up for a plot. Alternatively, find community organizations and ask for permission to install new food-growing plots on the land. For example, churches, schools, community centers, or even public land in cities like the parkway strips like Ron Finley. You can also grow crops like microgreens or tomatoes easily indoors or on a balcony to hugely add to your nutritional security and family's health in a very small space.
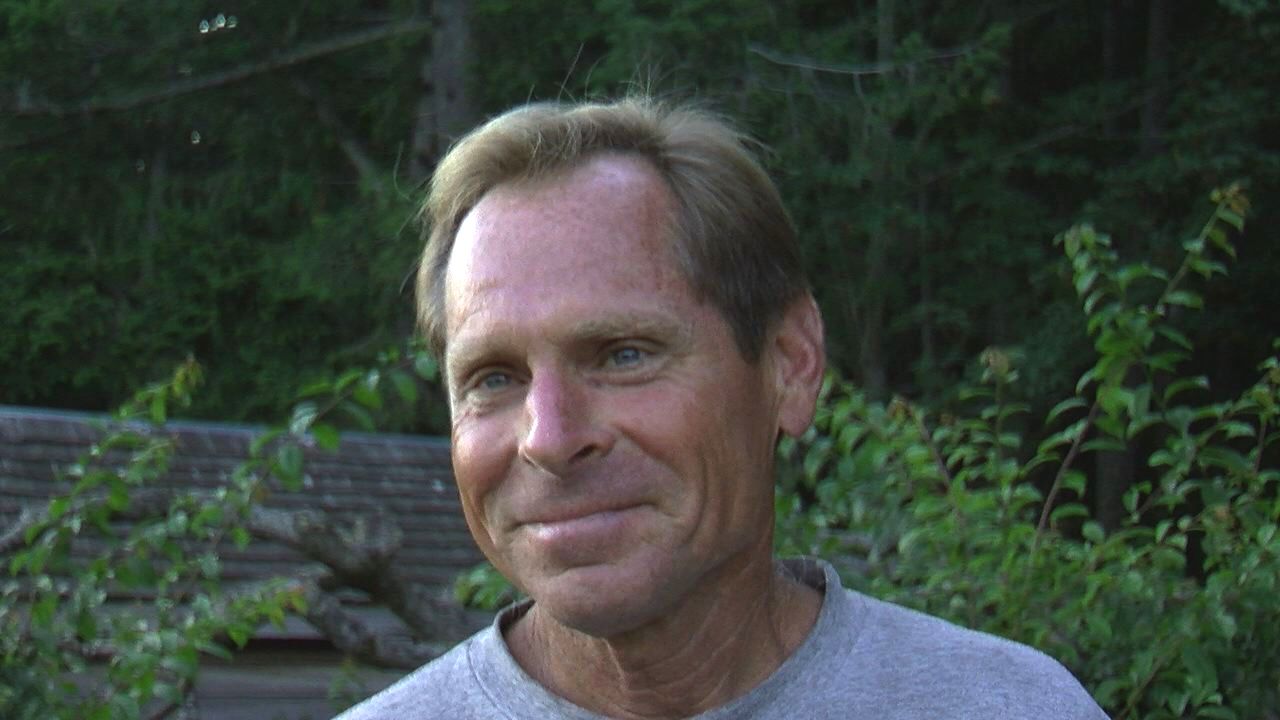 Paul Gautschi, Founder of the Back to Eden Gardening method, Photo by Dana Richardson The End of Paul's Garden Tours Nature teaches us that everything has its appropriate time and season. Theres a time to plant seeds a time for blooming a time for fruiting and even resting. We just got off a call with Paul and he shared some shocking news. Paul has asked us to announce to the Back to Eden Gardening community that has decided he will no longer be able to offer tours of his gardens and orchards, indefinitely. For the past decade, we have helped announce Paul Gautschi's garden tour dates that opened every June 1st to eagerly awaiting growers like you. Large groups of people have regularly flocked to his property in Sequim, Washinton, United States from all over the world to learn and taste his mouth-watering food. His abundance of harvest has filled the mouths and hands of hundreds of visitors every summer! Paul always smiles and joyfully exclaims, "you can't even tell anyone was here picking things, everything grows so fast and abundantly!" Paul has never asked for anything in return. He has always selflessly insisted that it is his purpose and privilege to share and it's not about him, it's all about God. We give thanks to Paul for the above and beyond generosity he has shared with so many visitors over the years out of the kindness of his own heart. Why Paul is No Longer Giving Garden Tours As many of you know, Paul's nervous system was affected by Agent Orange during Vietnam War which has degenerated Paul's ability to walk over time. Agent Orange is a powerful herbicide that was used by U.S. military forces during the Vietnam War to eliminate forest cover and crops from 1961 to 1971. Agent Orange contains the deadly chemical dioxin that was later proven to cause serious health issues among the those exposed to it. Considering the devastating impacts of exposure to Agent Orange on human health, Paul remains incredibly strong, healthy, and enduring aside from his difficulty walking. Paul attributes his resilience to the nutrient-dense food he grows and eats daily as his medicine. Paul is still able to get around on his own and tend to his gardens, orchards, and chickens. However, he feels his walking has become too slow to give tours any longer. 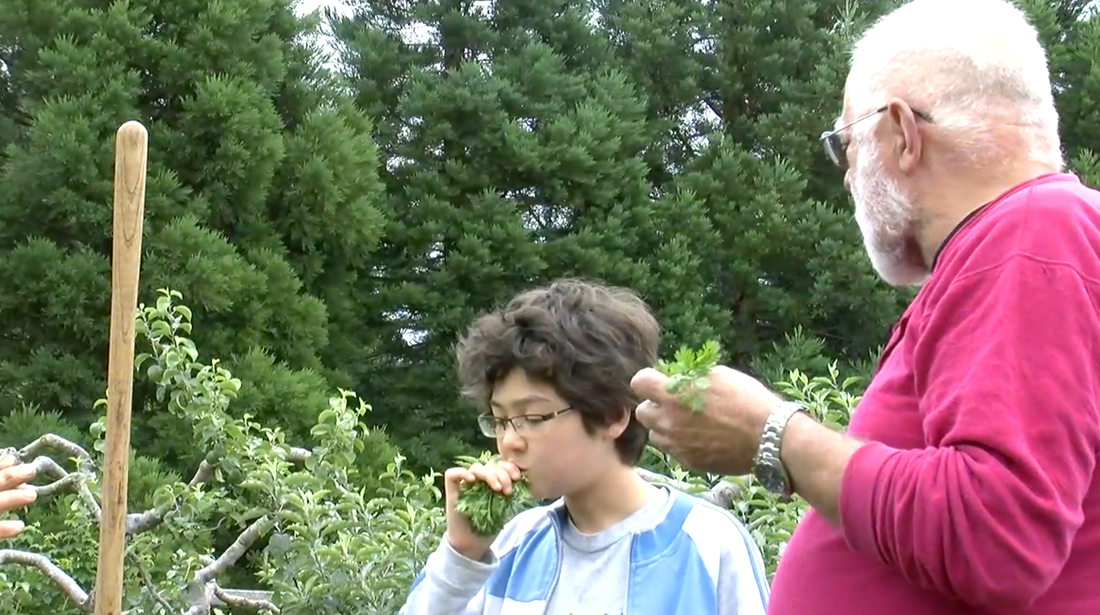 Visitors from China on a Tour at Paul's Garden, Photo by Dana Richardson Give Back to Paul Our first question to Paul when he shared the news was if there is anything we could do to help, such as a fundraiser for any of his potential medical needs. Of course, Paul humbly declined this offer and responded that there is nothing that can be done medically. However, we want to ask for your help to celebrate Paul and show him how much he means to all of us. It is important to celebrate those people who have blessed our lives and positively impacted us. Paul Gautschi is surely at the top of many of our lists of people to be grateful for. Many of you have enjoyed the privilege of touring Paul's property in person sometime in the past decade. Many others have freely watched the documentary and learned how to grow food in a life changing way from across the globe! If you have ever had the privilege to tour Paul's gardens or have been impacted by him in any way we ask you to please take a moment to give back to Paul. Write him a letter, give him a call, and send him a check if you are able! He would never ask this for donations for himself, that's why we are asking on his behalf for everyone to show their appreciation and support for Paul and his family. How to Contact Paul Gautschi Paul made it very clear that the end of his tours does not mean the end of his connection with you all. Paul is enthusiastic to continue staying a part of new and experienced Back to Eden Gardeners' lives. He is happy to connect with you by phone or "snail mail" and hopes to hear from you all. Remember Paul does NOT use a computer ever. This means if you want to pass on a message or a question to him, the best way is to connect with him directly via phone or letter. Upcoming Events With Paul You surely haven't seen the last of Paul! We will do our best to help keep you connected with Paul by sharing new videos, news and interviews we plan on producing with Paul in the near future. Paul will also be a speaker in upcoming virtual events we will be hosting like the Future of Food Summit, Fall 2022. We told Paul that he would be amazed at the countless videos uploaded by visitors over the years that are now streaming online sharing his tours. He seemed pleased to hear that the legend of his tours could live on. People can still watch videos of Paul's tours for years to come and experience a taste of his incredible tours. At the end of our call, I said to Paul to lighten the mood "enjoy your restful Sundays, you deserve it!" Paul laughed and responded, "I will." Watch Video: "Behind-the-Scenes of Back to Eden Film"
In this timing, it seems perfect to share with you a new video montage of Paul Gautschi in his gardens and orchards. In honor of Paul, we are excited to invite you to watch raw footage from "Behind-the-Scenes of Making Back to Eden Film." (see video above). Stored safely for over a decade these videos have never been shared until now! In 2011, we produced and directed Back to Eden Film. We documented Paul Gautschi daily in his gardens and orchards for a year, learning incredible things every growing season. Paul became a close friend and mentor to us. He patiently shared his unique knowledge of growing food and his gifted ability to understand the intricate details of God's design in creation. Paul's deep faith, generous character, and contagious enthusiasm continue to impact our lives and the lives of millions of people worldwide who witness his story for the first time. We hope you get inspired to grow the best-tasting food on earth, spread generosity to all people, and join the Back to Eden Gardening movement! We cataloged hundreds of hours of footage that didn't make it into the final cut of the film. This is just a taste of some of our favorite clips from behind the scenes. Sincerely, Dana Richardson & Sarah Zentz Back to Eden Gardeners & Filmmakers  Back to Eden Gardening Summit is a 1-day virtual event featuring over a dozen conversations with leaders of the regenerative organic gardening movement including Paul Gautschi, Charles Dowding, and Alice Waters. You will learn the science behind the Back to Eden Gardening method and how you can transform your dirt into healthy, fertile soil! The Summit goes LIVE on August 21, 2021! In celebration of the 10 year anniversary of Back to Eden Film, we sent out a film crew to interview our dear friend, Paul Gautschi, in person. This rare, exclusive, professional video shares Paul's newest revelations and shows you his epic vegetable garden and orchard. We asked Paul the top questions we have received over the last decade and you will be blown away by his answers. If we missed any questions, Paul is offering a LIVE Q&A on August 21, 2021 with those who register for the event! 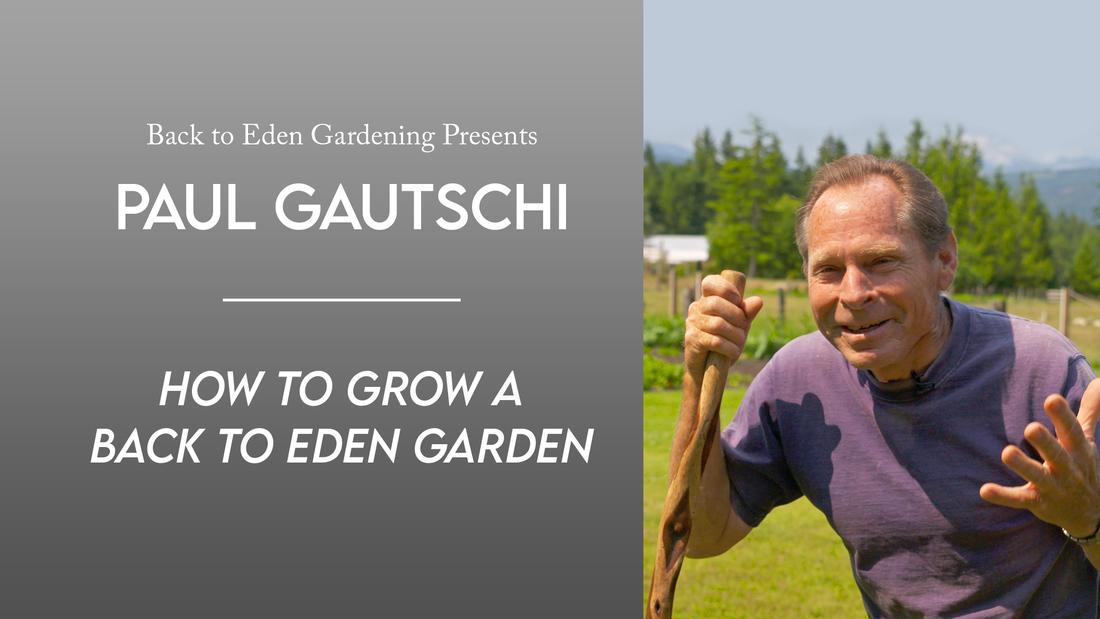 What to Expect to Learn with Paul Gautschi
|
AUTHORS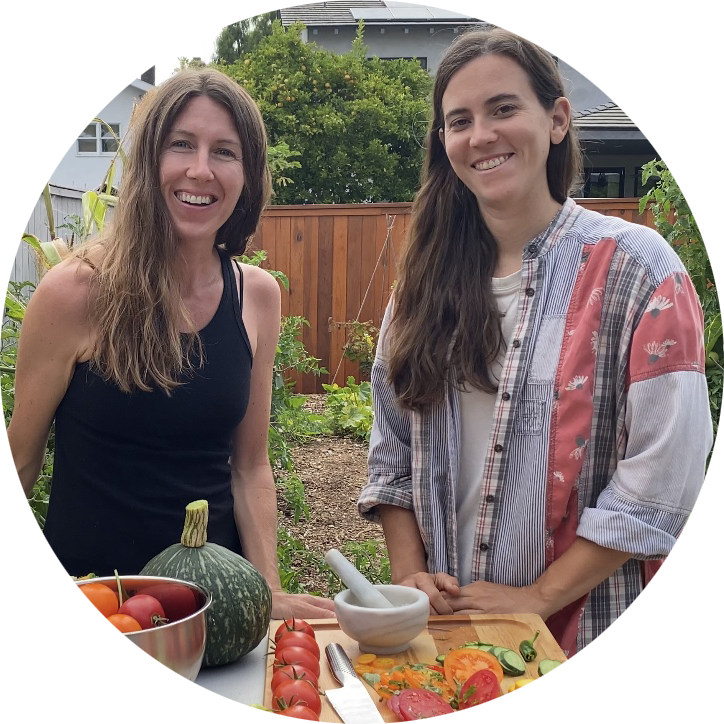
Dana Richardson & Sarah Zentz, Producers of Back to Eden Film
 Categories
All
 |
 RSS Feed
BACK TO EDEN GARDENING |
JOIN THE MOVEMENT |
CONTACT US |
© 2022 Back to Eden Film. All rights reserved.