
Thought the gardening season was over?! In Back to Eden gardening, Fall is the perhaps the most vital season to give your garden some extra love and care. Just like in nature when leaves are falling and nourishing the soil in the fall, now is also the time to put your woodchip covering down before the winter.
Today we are going to share a simple but important fall Back to Eden Gardening to do list that will ensure an amazing and successful coming gardening season! 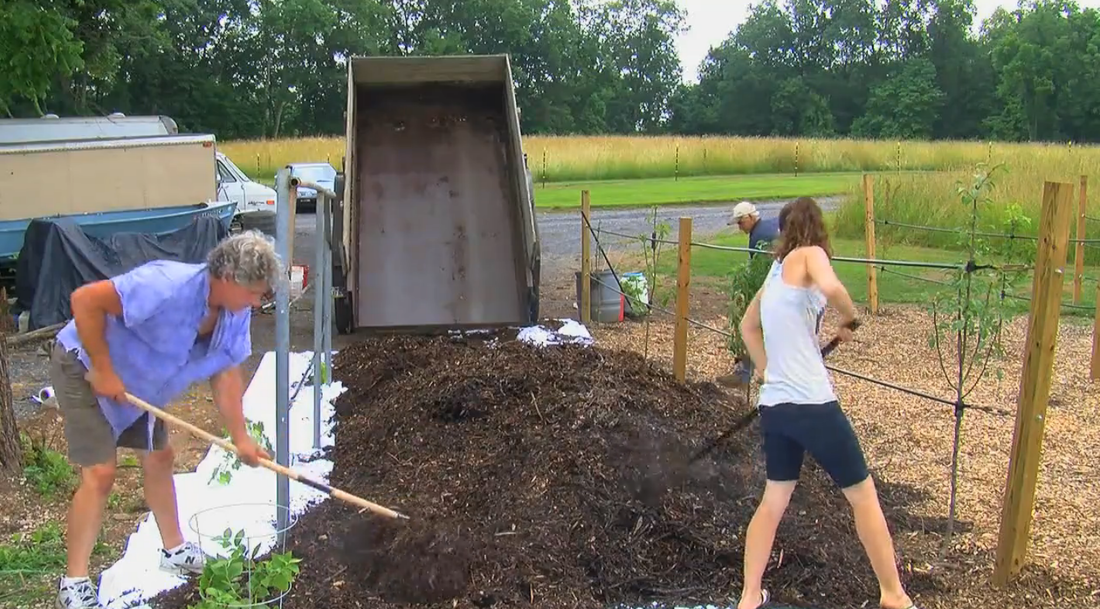
FALL BACK TO EDEN GARDEN TO DO LIST: 
1. PUT THE COVERING DOWN
Get Free Woodchips to using the Free Chip Drop App today! Be kind to your baby soil and cover her with a living blanket this winter! Adding to your covering will act as a slow release fertilizer, enriching the soil with rain and snow during the winter month for better gardening in the spring. It will also help the ground temperature stay warmer for your winter crops and fruit trees. Not tilling preserves prevents the loss of topsoil and allows living microbes in the soil critters to cycle nutrients and maintain fertility. Add about 4 inches of woodchips to your garden plot. If they are not composted now they will be by the spring! 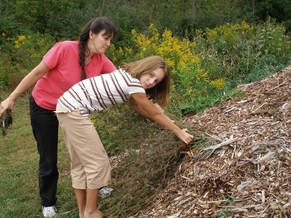
2. WEEDING
It's so easy to weed in woodchips! In fact, when you put the covering down, it will do the weeding for you! Make sure when you add your covering to add at least 4 inches of woodchips to smother the weeds. Put down newspaper roll or cardboard first if its a new garden plot. If you just add a thin layer of woodchips over a weed infested garden plot it will actually make your weeds grow bigger!
3. KEEP COLD WEATHER CROPS MULCHED In Paul Gautshi's gardens and orchards in Sequim Washington winter is mild enough to have a winter garden! Due to the soil warming benefits of the mulch covering, even with several inches of snow and below freezing temperatures Paul's grows root vegetables like Beets, Carrots and Potatoes, Greens like Kale, Spinach, Cilantro and other cold weather crops. Onions, Garlic, Shallots, Asparagus, Peas, are some of the hardy winter vegetables that can endure cold weather. These should be planted in the early fall in order to grow during the winter months. 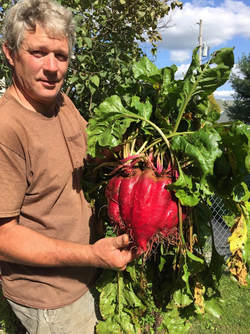
"The beets in my Back to Eden garden this fall were absolutely enormous! And they were still sweet and tender?!"
- Mark McOmber, Back to Eden Film Gardener.
4. WATCH BACK TO EDEN DVD BONUS FEATURES
Paul Gautschi describes how to use woodchips in depth in the Back to Eden Film Bonus Features including Frequently Asked Questions about The Covering and Soil Preparation. It's an invaluable resource for new and experienced gardeners! Gift Back to Eden DVD today and learn the secrets that got millions of people to love gardening.
BACK TO EDEN GARDEN SOIL PREP TOOLS!
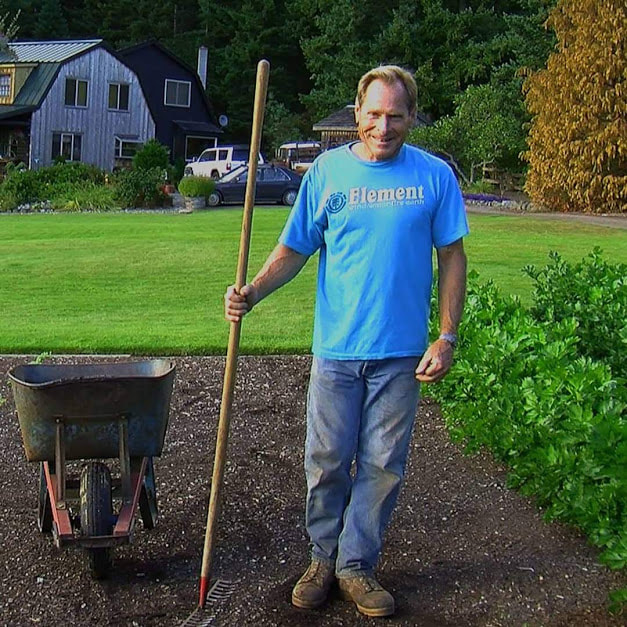
RAZORBACK RAKE
Spreading woodchips is a still a breeze with a strong and reliable razorback rake. You'll will save your body from aches and straining by making spreading mulch easier. Click on the image (right) to see more about our recommended gardening rake.
MULCH SHOVEL
Shoveling woodchips can be time consuming, but using a deep scooping mulch shovel will save you time and energy. Click on the image (right) to see more about our recommended mulch shovel.
See more recommended gardening tools and resources in our STORE
Have you been wondering if you can do Back to Eden Gardening in raised beds or containers? The answer is yes! Whether your in an urban setting and don’t have space or you have back pain or gopher problems, contained gardens can be very useful!
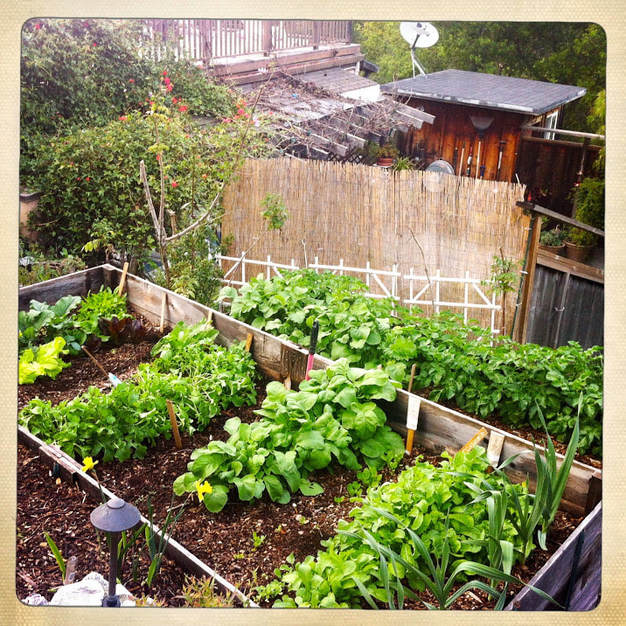
Back to Eden Gardening in Raised Beds:
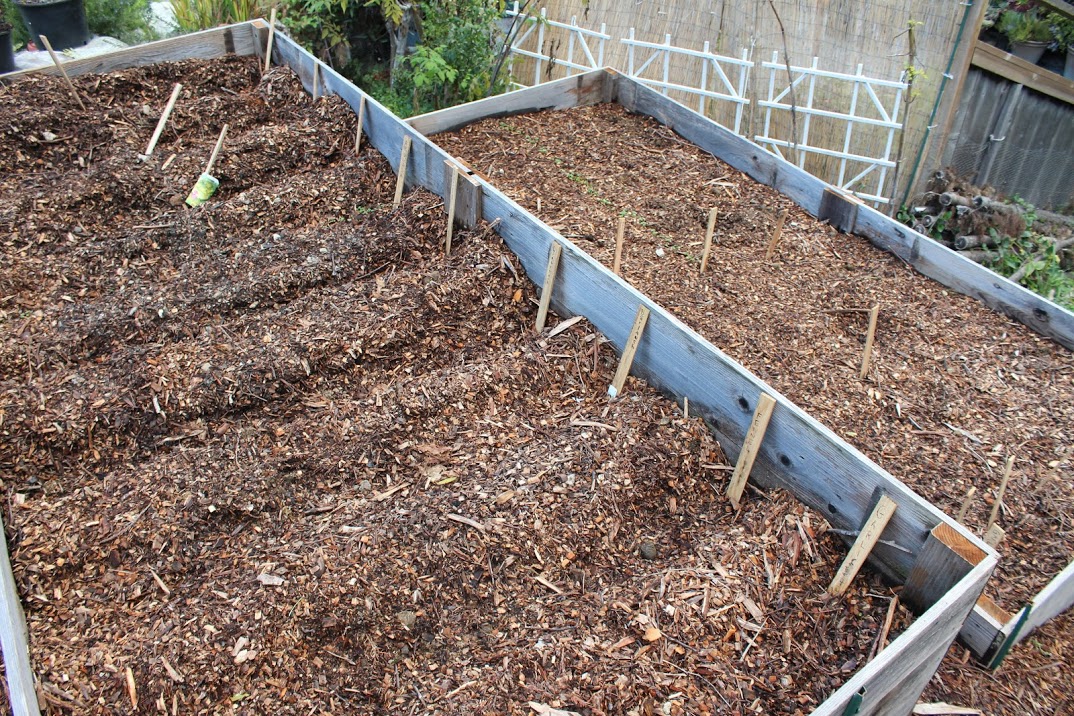
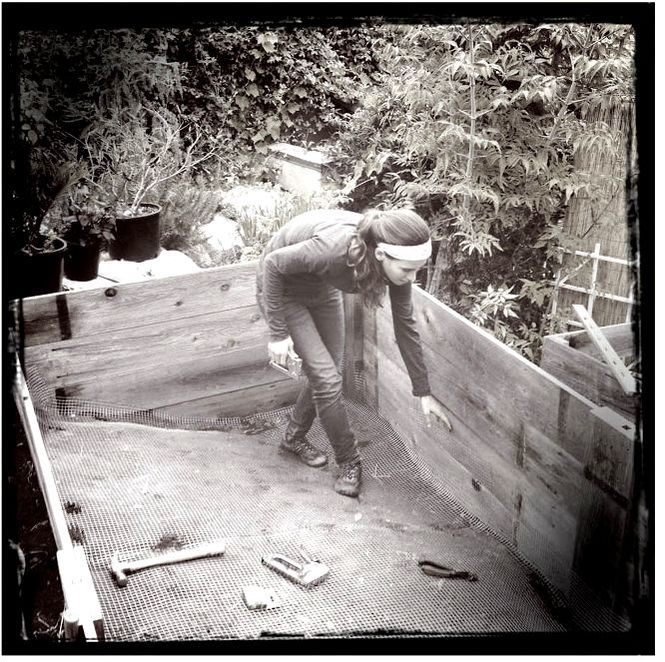
1. Build the raised bed frame using untreated wood. Measure the bed to be at least 12 inches deep. Leave the bottom of the raised bed open to the soil. This way the roots can still reach the soil below and transform the top soil. Also, beneficial microorganisms like worms will be able to naturally inhabit your raised bed. 2. Securely staple in a layer of galvanized steel gopher wire as the base. Cut diagonals at the the edges of the wire sheet so you can fold them inwards flush to the interior corners of the raised bed. See photo below (left). If you don't have gopher problems you can skip installing the wire layer.
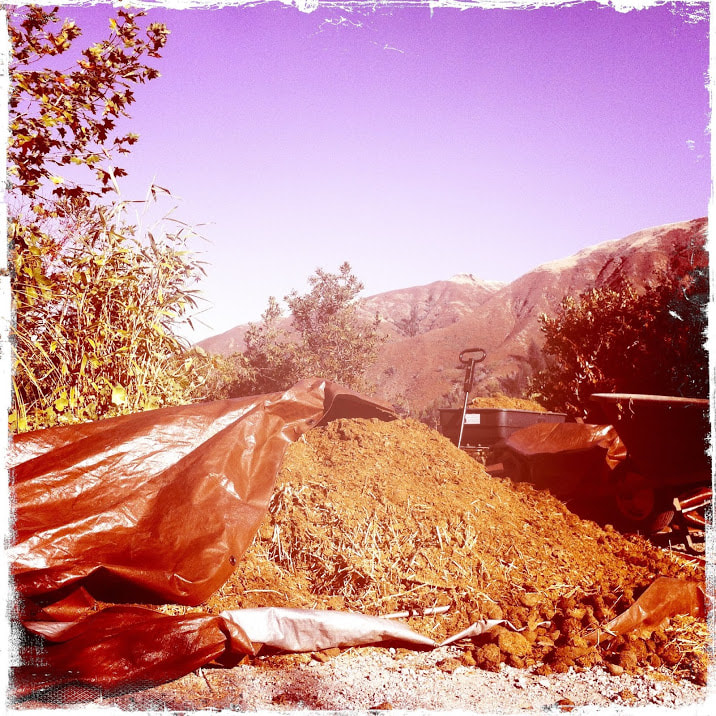
3. The main principle to consider that differs from other Back to Eden gardens is that you will ideally need at least 12 inches or more of composted organic matter as a growing base before adding the woodchips on top. Examples of compost to use as a BTE raised bed garden base include composted organic manure, composted and filtered woodchips, mushroom soil or vegetable compost. Whatever you use, make sure it is a clean, non-toxic source. In the photo above (right) we used composted horse manure.
4. Simply follow the BTE method adding 2-4 inches of woodchips on top.
5. It’s ready to part the woodchips, plant seeds in the compost below the raw woodchip layer and enjoy! 6. The composted material will break down significantly after one year. To add more to your raised bed garden simply rake the woodchips to the sides of the bed, shovel in more compost and rake the chips back over. Then cover with several more inches of woodchips. Remember to never till the woodchips into the soil.
To be clear, Paul does not use raised beds in his gardens. Paul Gautschi uses composted and filtered woodchips as a growing material in this primary home garden directly on the ground. This example is brought to you by the filmmakers of Back to Eden. We have successfully grown in BTE raised beds and containers from California to Pennsylvania.
Back to Eden in containers and pots: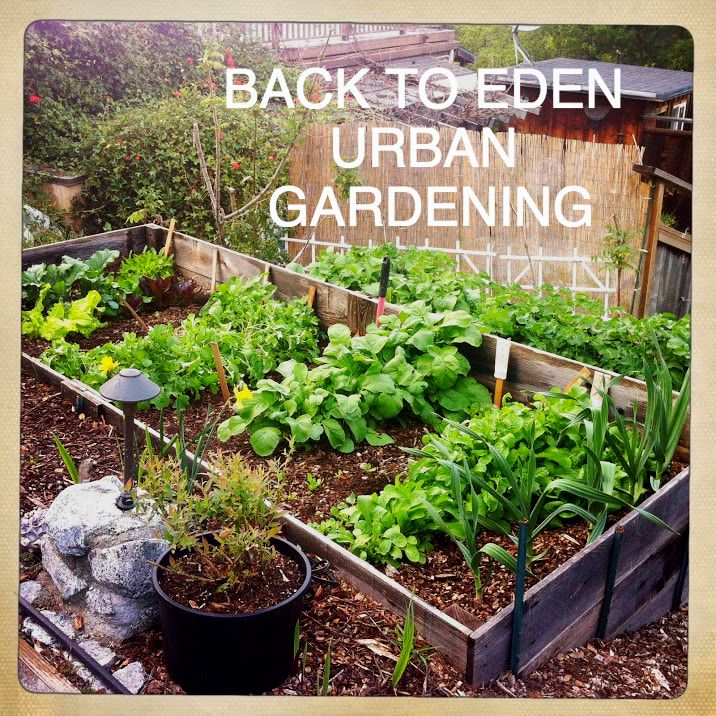
In urban settings you may not have the space for a raised bed. If you only have a porch to grow on you can still grow potted edibles easily to access fresh lettuces, tomatoes, squash, herbs, blueberries, even fruit trees! ANYTHING that grows well in your climate will grow beautifully in pots with the Back to Eden gardening methods.
1. Pour 12 inches or more of composted organic matter as a growing base before adding the woodchips on top. Examples of compost to use as a BTE raised bed garden base include composted organic manure, composted and filtered woodchips, mushroom soil or vegetable compost. Whatever you use, make sure it is a clean, non-toxic source. 2. Simply follow the BTE method adding 2-4 inches of woodchips on top. 5. It’s ready to part the woodchips, plant seeds in the compost below the raw woodchip layer and enjoy! 6. The composted material will break down significantly after one year. To add more to your pots simply shovel off the woodchips on top and set aside in a bucket. Next, shovel in more compost dump the removed woodchips back over the top. Then add with several more inches of woodchips as needed. Remember to never till the woodchips into the soil. 7. Don't allow perennial plants to become root bound. Move them to larger containers as they grow larger. TIP: Since plants in pots don't have the benefit of containing the beneficial micro-organisms that healthy organic soil contains in nature, it is a huge help if you can add some to your pots. If you have access to compost with worms in it add as much as possible to your pots! Otherwise, at your local nursery ask for earth worms to add to your pots to help them get started. |
AUTHORS
Dana Richardson & Sarah Zentz, Producers of Back to Eden Film
 Categories
All
 |


 RSS Feed
BACK TO EDEN GARDENING |
JOIN THE MOVEMENT |
CONTACT US |
© 2022 Back to Eden Film. All rights reserved.