Recipe
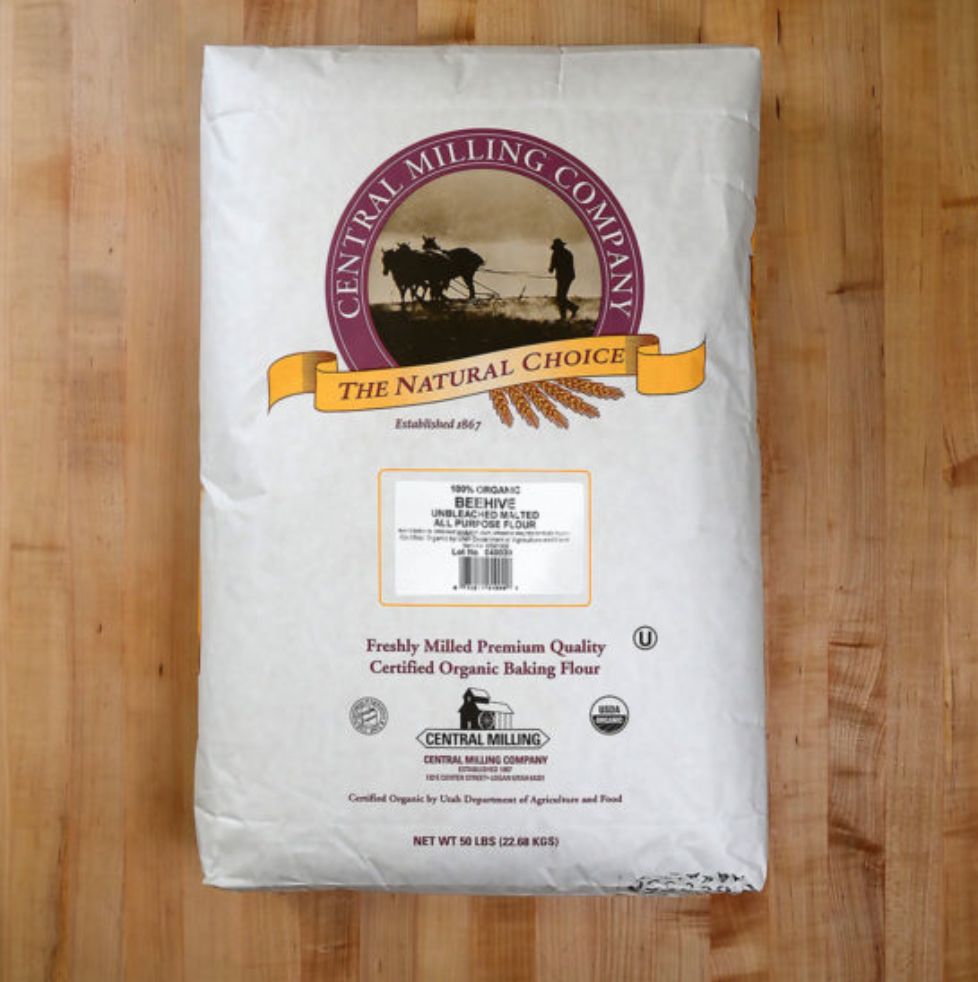
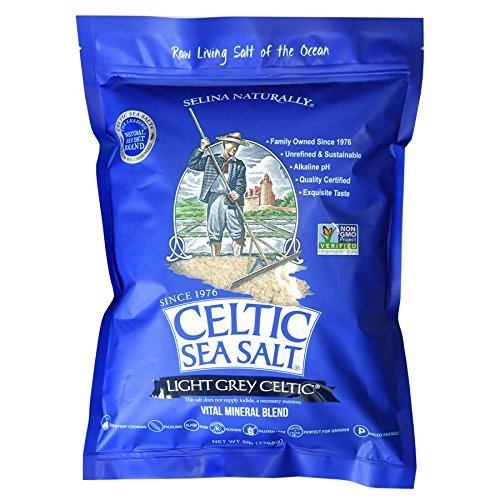
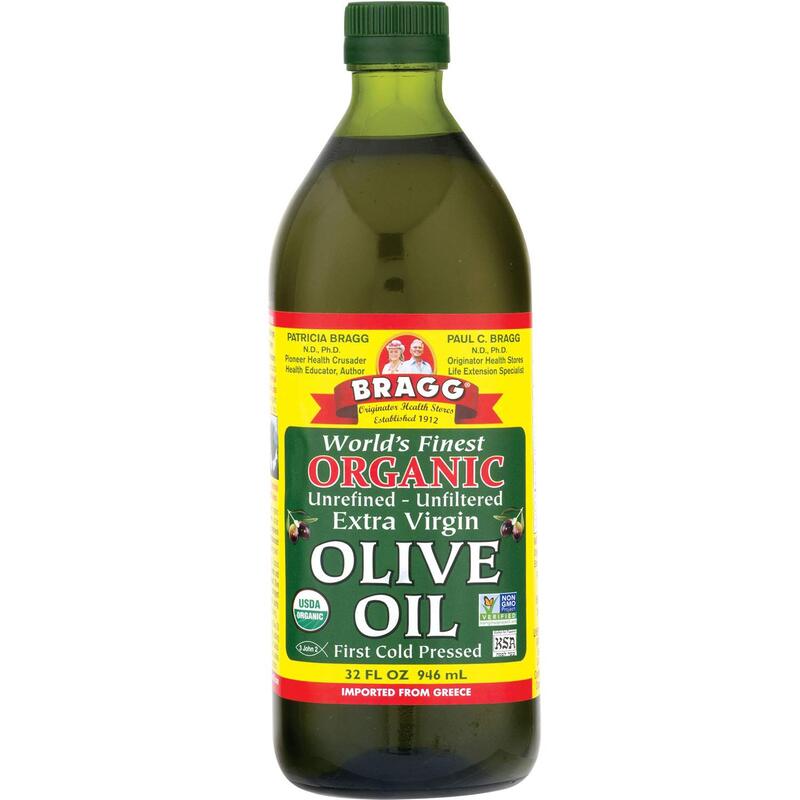
Mix the yeast in with the warm water. Add in the mashed potatoes. Add the salt to the flour. Slowly stir in the flour mixture to the wet ingredients. Gentle knead together until the dough forms a ball. Do not over knead. Place in a large bowl and cover with a cloth. It should double in size in 30 minutes. Turn it onto a flat floured baking pan and press it into an oval shape about 8 inches long. Decorate however you please. Sprinkle a little salt and pour the oil over the top. Ingredients (Recommended)
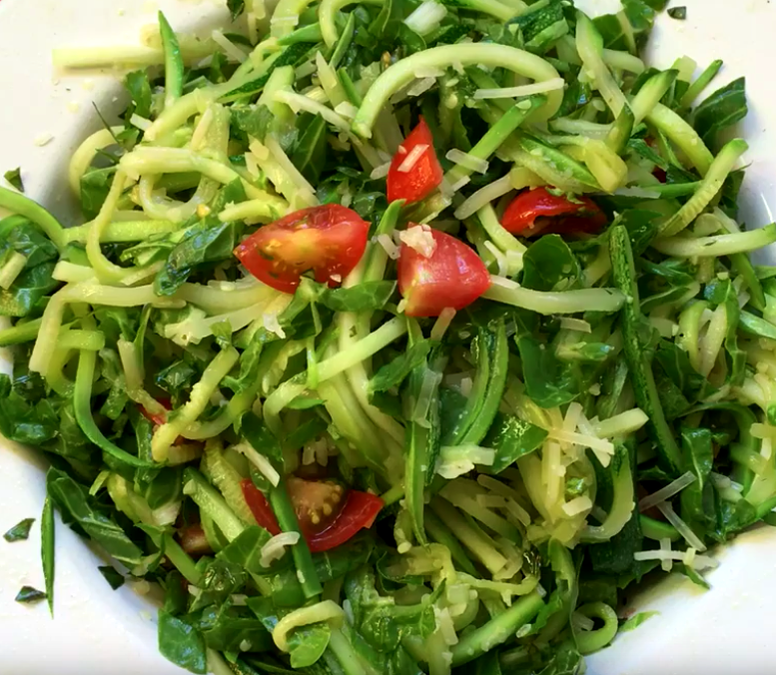
Zucchini can be such an abundant crop! However, you may start to wonder, what am I going to do with all of this squash!!?? Today we are going to teach you how to make Zucchini Spaghetti! This is a delicious and easy way to use zucchini even when it is very large and may be too tough for other recipes. It is a super healthy alternative to traditional pasta that allows you to bring more garden fresh ingredients to your table!
Top Tools to Create Vegetable Noodles:
This article was written by Dana Richardson, co-producer of Back to Eden Film.
INTRO TO PAUL'S KOMBUCHA RECIPE
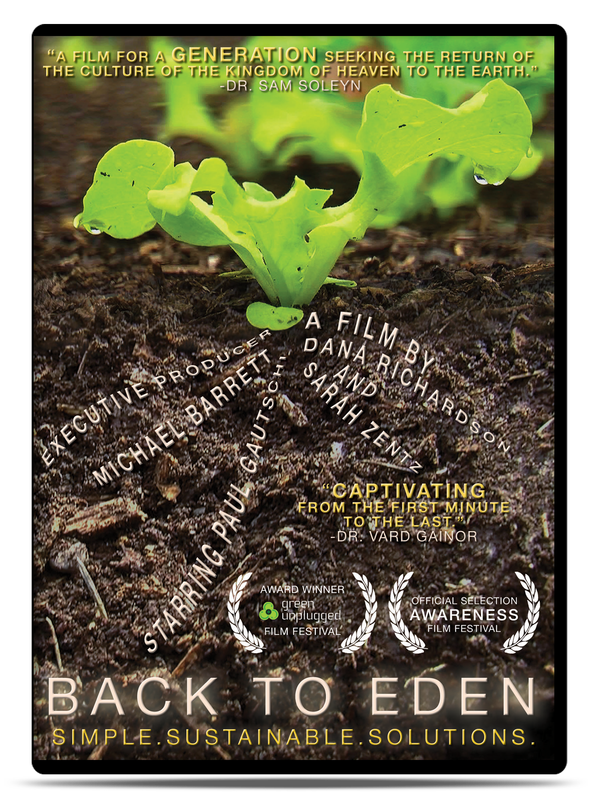
The first time I ever heard of kombucha was from Paul Gautschi during the making of Back to Eden Film in 2010. Sarah Zentz (co-producer) and myself spent an amazing year with Paul learning and documenting his gardening methods to share with the world through our documentary. He mentioned it one day to us as a health recommendation and our first responses were "kom...bu...what?" Although the origins of kombucha are thought to date back to ancient China or Japan, to us it was something completely new! In fact, at the time kombucha was a lesser known secret among most people and only available at speciality stores. Now it has become a popular beverage found in most major grocery stores for a whopping $4.00+ per bottle!
Of course Paul Gautschi was one of the pioneers who was "in on the kombucha secret" long before it hit the shelves! In his usual freely giving character Paul took the time to freely share his personal kombucha recipe instructions with us. He even gave us one of his SCOBY starters to use. SCOBY is an acronym for "symbiotic colony of bacteria and yeast." I started brewing my own kombucha with Paul's recipe and have been hooked on it ever since. Now you can try it too! It will not only save you tons of money, you will also be able to ensure it's ingredients are pure and adapt it to your personal taste preferences. 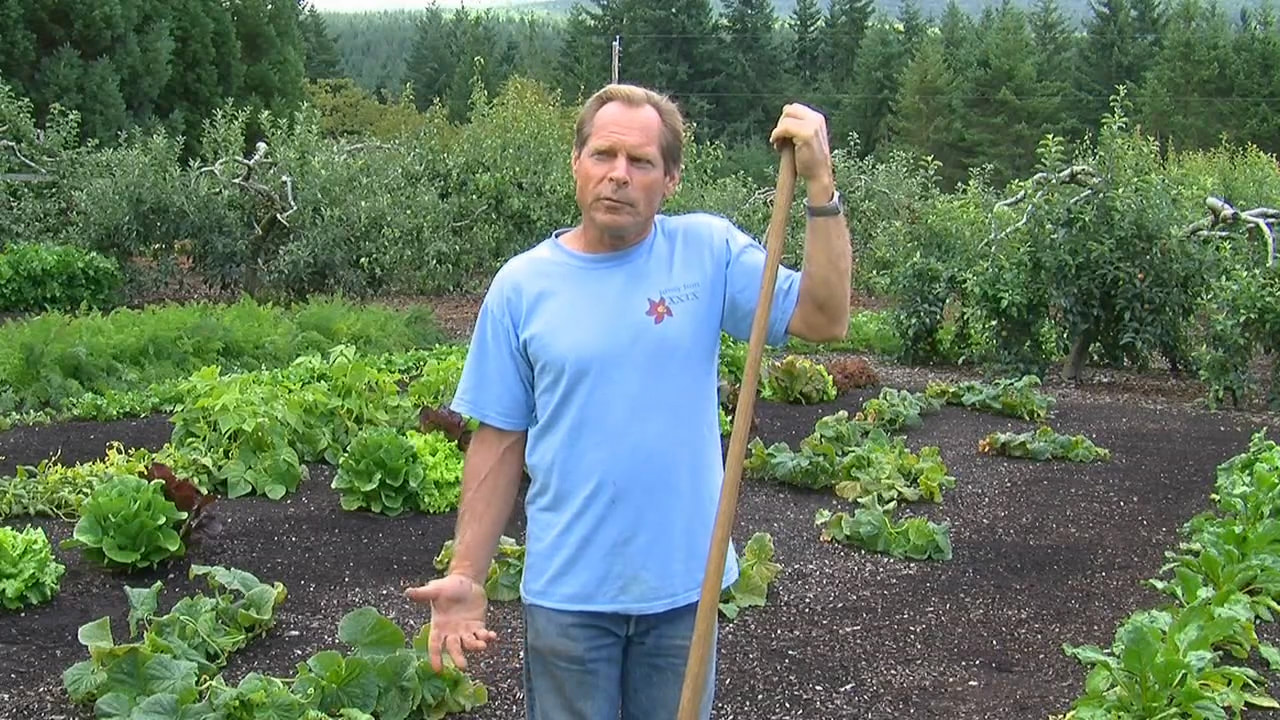
"Health is something that is maintained not something that is achieved."
-Paul Gautschi HEALTH BENEFITS OF KOMBUCHA
KOMBUCHA RECIPE: HOW TO MAKE KOMBUCHA AT HOME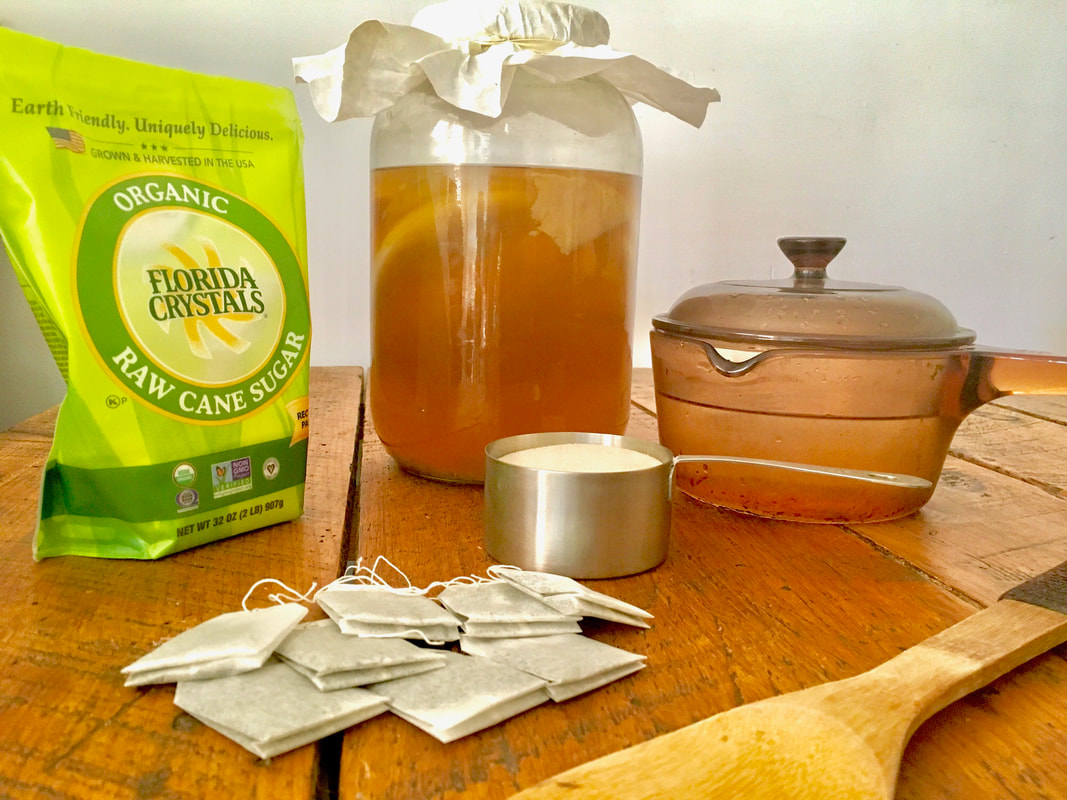
INGREDIENTS
KITCHEN TOOLS
INSTRUCTIONS
1. Boil Water: Bring filtered water to a boil in your glass cookware. You don't want to add any extra chemicals like chlorine to your brew so make sure it's not just tap water.
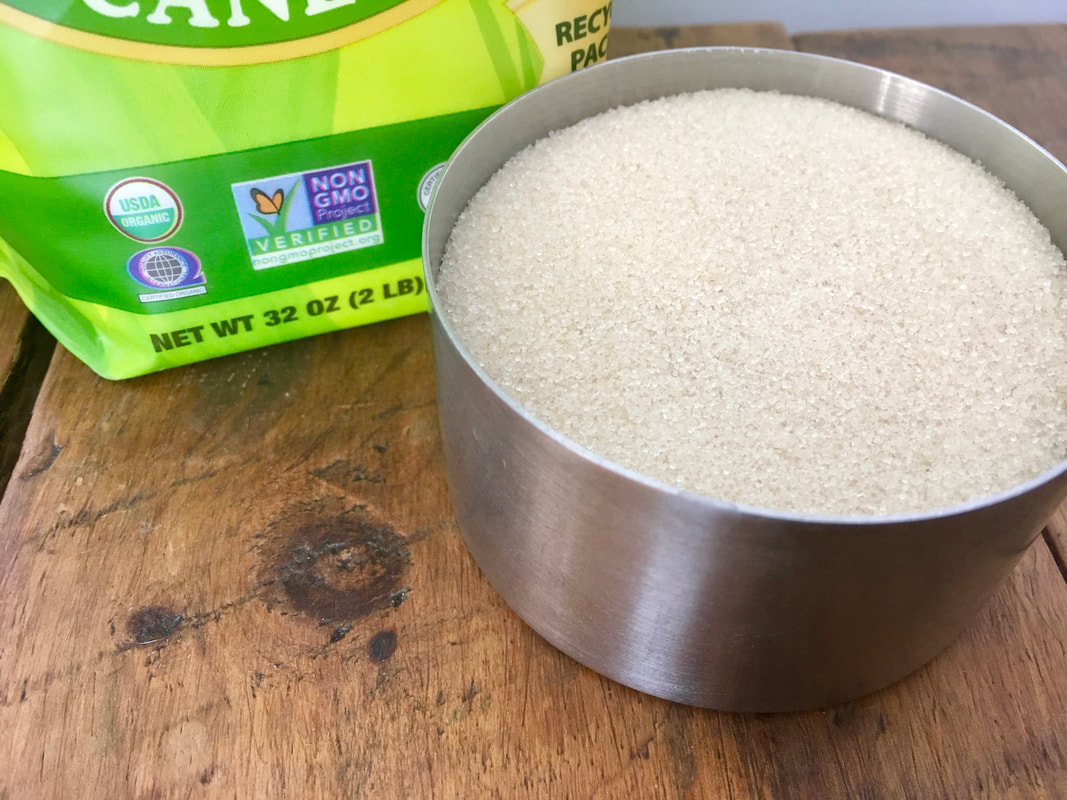
2. Dissolve Sugar: Remove your boiling water from the heat and carefully pour in the sugar to the water. Gradually stir in the sugar with your wooden spoon until it dissolves. Don't skip out on adding the full amount of sugar. This is what the culture "feeds" on to grow a healthy kombucha brew.
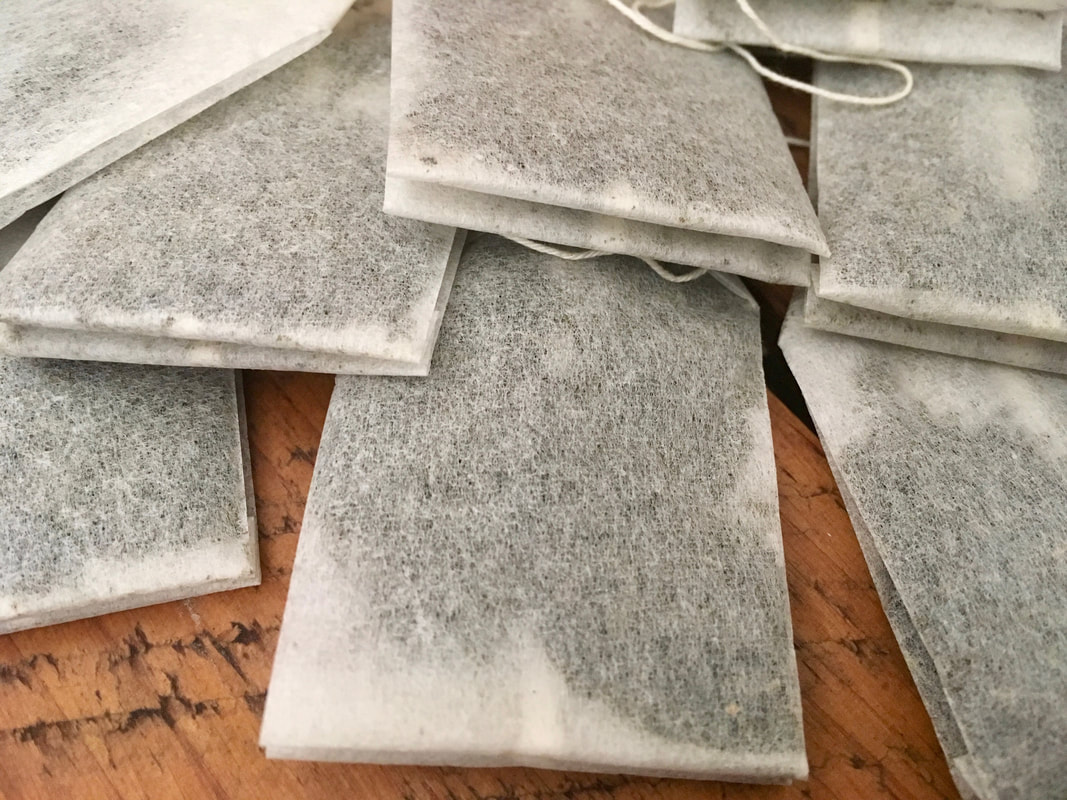
3. Brew Tea: The best tea bags to use are organic and do not have staples on the bags. If your tea bags do have staples carefully remove them before brewing your tea. No metal allowed! :) Add the tea bags to the water and cover with a lid to allow to steep until the water has cooled to room temperature. Depending on the size of your pot, this could take a few hours. I like to put mine in the fridge on a heat safe surface to cool faster. You can discard your used your tea bags to your garden compost bin!
4. Add Kombucha Starter Liquid: Once the tea is cool, remove the tea bags. Now you can stir in the starter liquid from the store bought bottled kombucha. (The starter tea makes the liquid acidic, which prevents unfriendly bacteria from taking up residence in the first few days of fermentation.) Make sure the kombucha is cooled to room temp. because the heat will kill the living cultures.
5. Add the SCOBY: Pour the mixture with and the SCOBY into your sterilized 1-gallon glass jar. Wash your hands to prevent any contamination into your brew.
6. Cover the Jar: Cover the mouth of the jar with a few layers of cheesecloth and secure it with a large a rubber band. It should fit snug. This is what allows the brew to "breathe" in order to properly ferment while keeping our any unwanted particles.
7. Ferment in a Dark Location: Keep the jar at room temperature, out of direct sunlight, and in a safe place it will not be disturbed. Allow it to ferment for at least 7 to 14 days, checking the kombucha and the scoby periodically. I have found for the first batch it takes a little longer than the subsequent batches.
8. Bottle, Chill, Taste: After seven days, begin tasting the kombucha daily by pouring a little out of the jar and into a cup. It will be slightly bubbly to the taste and not overly sweet when it is ready to drink. The longer you allow it to ferment the less sweet it will become. Paul's preference is a less sweet kombucha usually 10 to 14 days of fermenting. Once it is ready either pour the kombucha liquid (without the SCOBY) into your second gallon jar or funnel it into your glass bottles. Seal the ready to drink kombucha jar with a lid or plastic wrap and store it in your fridge. When your kombucha is stored and sealed in the fridge it will not continue to ferment. Keeping it sealed helps keep it pure of contaminants and prevents it from going flat. 9. Serve: Most people prefer to drink the kombucha chilled and without the SCOBY remnants. The SCOBY particles won't hurt you, it's simply more palatable. Pour your kombucha slowly or use your cheese cloth to filter it for drinking. You can mix it with your favorite organic juice in your glass to enhance the taste. Most of sugar ferments away, but I always rinse my mouth with water or brush my teeth after drinking anything sweet.
Bottom Line: It may look gross but it's worth it for the end results!
9. Repeat: Always mark on your calendar or keep track of when you made your kombucha and schedule a reminder of when to create your next batch. Paul recommended we use two 1 gallon jars to create a brewing/drinking cycle. He would wait 10-14 days for his kombucha to brew and then use 1 glass gallon jar to for Drinking Kombucha to store in his fridge and the second 1 gallon glass jar for Brewing Kombucha. He would make a new batch of kombucha tea to brew on the same day he would put the drinking kombucha in the fridge. This way by the time he consumed the drinking kombucha the second batch was ready to begin consuming. *Remember to always leave about 2 cups of the previous kombucha liquid in the Brewing Jar with the SCOBY when making a new batch.
Maintaining Kombucha
Over time your SCOBY will continue to grow in layers in your gallon jar. It is normal for it to appear white with some brown sediment and bubbles. This is all part of a normal, healthy fermentation process. It should smell slightly sour like vinegar with a sweet aroma. Periodically you will need to remove some of the layers of the SCOBY when they fill the glass jar too much. You only need about 2-4 inches of SCOBY to remain in your Brewing Jar. The Kombucha SCOBY is actually high in probiotics, vitamins and protein. Therefore, Paul feeds the discarded SCOBY's to his chickens or sometimes even his dog! Yummy! They love it and turn it into fertile compost! If you don't have chickens or a hungry dog you can still add it to your compost bin to eventually dress your Back to Eden garden soil.
Safety and Alcohol Content
The longer you allow the kombucha to ferment the higher the alcohol content will be and the less the sugar content will be. It has been tested that kombucha is usually only 0.01% to 3% alcohol content, depending on how long you allow it to ferment. It is not enough alcohol to get drunk when consuming a 1-2 glasses.
If your kombucha starts to smell or taste rotten you know that something is not right and the batch should be thrown out. It could actually make you very sick to drink contaminated kombucha. This would usually occur if the brew fermented for too long (over 2-3 weeks). It could also occur due to contamination of unwanted bacteria, not getting enough oxygen or not having enough sugar. So make sure your tools and clean and follow the instructions. In all my years of making kombucha I have never experienced any negative results. However, take precautions and use care like any home fermenting process. Make kombucha at your own risk and consume it wisely.
TIPS:
( Serving Size: 4 Prep Time: 15 Min. )
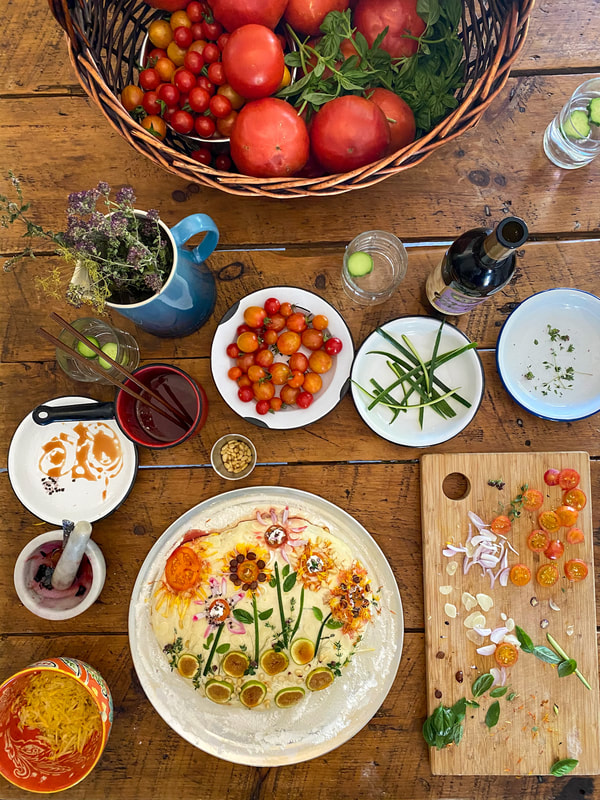
A Paella is a traditional Spanish recipe that is great way to use tons fresh in season ingredients easily incorporated into a large skillet with rice. In this version of a Paella fresh Back to Eden harvest veggies are the star! Did you know that tomatoes and basil have a symbiotic relationship in the garden and when paired in the kitchen? When tomatoes and basil are grown together the tomatoes will be sweeter. Basil reduces inflammation, slows aging and fights bacteria and Lycopene in tomatoes fights disease. When paired together basil helps neutralize inflammatory qualities of tomatoes. This recipe uses the cooking oil Ghee Butter to lightly sauté garden fresh veggies. Ghee Butter is one of Paul Gautschi's preferred cooking oils due to it's high heat index providing health benefits. NOTE: The most important step in a Back to Eden garden recipe is to use live food, fresh and in season! Use whatever veggies and herbs are available in your garden! INGREDIENTS
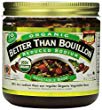
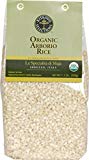
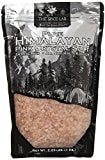
GHEE BUTTER VEGETABLE BOUILLON ARBORIO RICE HIMALAYAN SALT MANDOLIN SLICER
INSTRUCTIONS
LIVE FOOD, FRESH AND IN SEASON!
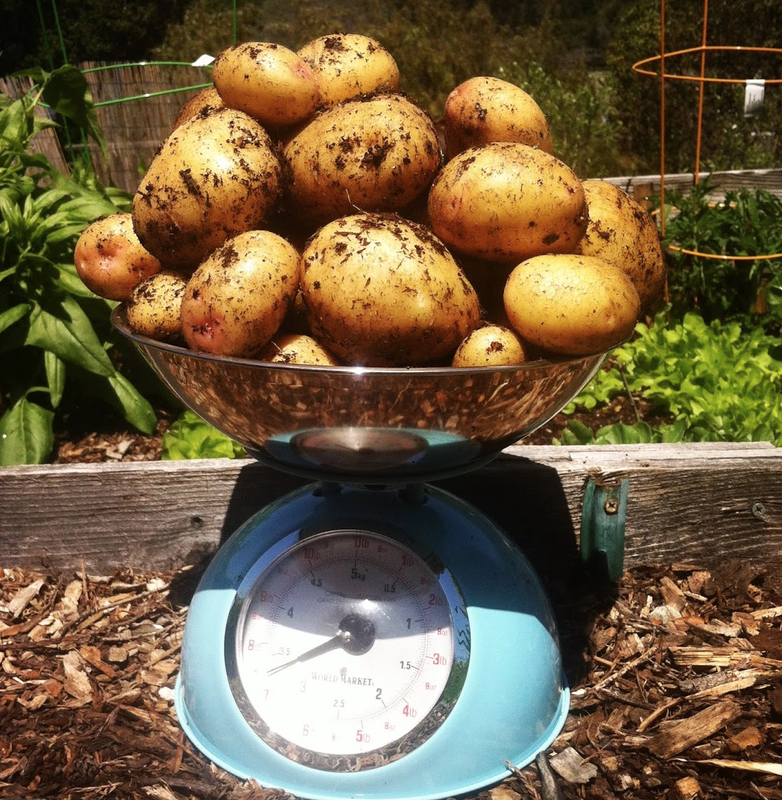
We all love Back to Eden gardening because it's simple and everything grows better! Eating from a Back to Eden garden should also be a simple and delicious experience! We will be sharing monthly recipes that are simple, nutritious , straight from your Back to Eden garden harvest to your kitchen table!
Subscribe to the new Back to Eden Garden Channel on Youtube!
Cucumbers are a super healthy anti-inflammatory food. They help remove toxins and promote hydration on hot summer days! INSTRUCTIONS:
"When people come to my place I just love to have them sample my food and the response of everybody is 'that is so sweet and tastes so good'. And my gut feeling intuitively is that the nutritional value of food is relative to it's flavor." -Paul Gautschi Submit Your Garden Recipe Have a delicious and nutritious Back to Eden garden recipe you'd like to share? We'd love to hear from you! Submit a recipe for a chance for your recipe to be featured in an upcoming newsletter and demo video! Still have unanswered gardening questions? Looking for some expert advice? Please purchase the Back to Eden DVD which has incredible Bonus Features! Paul answers the most frequently asked questions about Soil Prep, Fertilization, Irrigation, Weeding, Pests and even does a pruning demonstration and so much more! Buy Now |
AUTHORS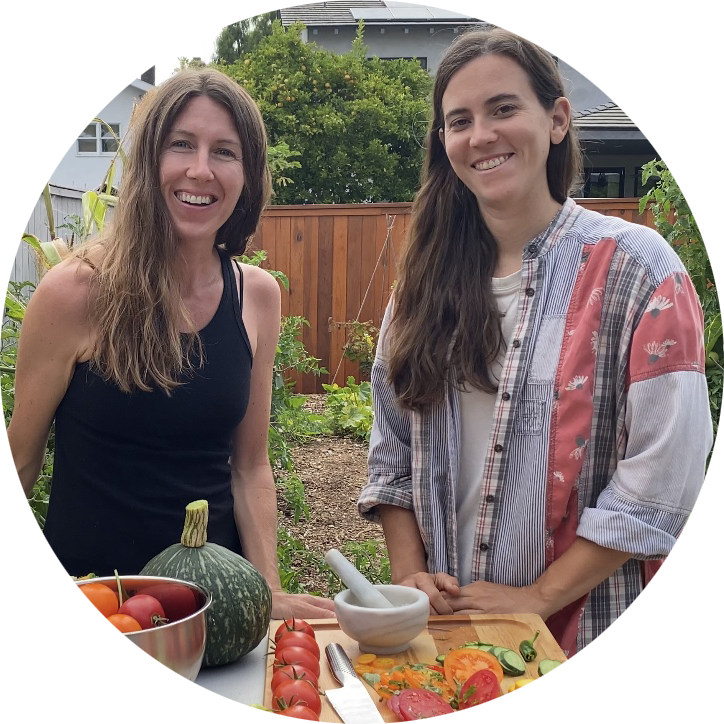
Dana Richardson & Sarah Zentz, Producers of Back to Eden Film
 Categories
All
 |


 RSS Feed
BACK TO EDEN GARDENING |
JOIN THE MOVEMENT |
CONTACT US |
© 2022 Back to Eden Film. All rights reserved.